
Hey all, Bryce here stepping in for a short blog.
PlusThis is about to hit it’s nine year anniversary! Woot woot! Right?
As part of this, we created a little promotion for our lead gen that I thought I’d share with you all, in case you want to do something similar from time to time.
The Idea
For the PlusThis birthday celebration, we wanted to give leads 15% off if they signed up for a free trial by June 27th (PlusThis’s 9 year birthday).
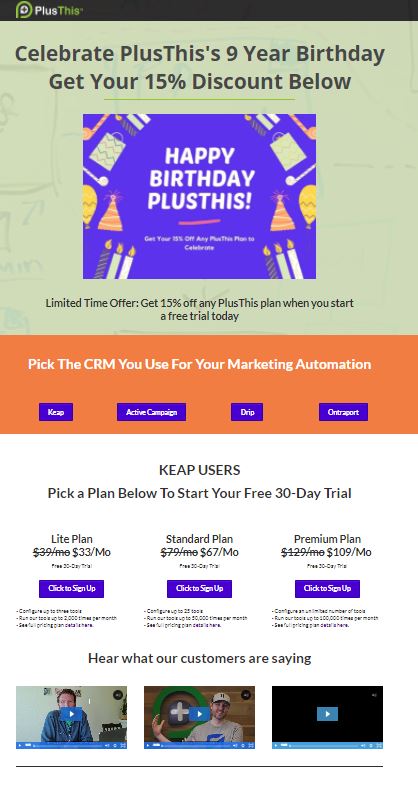
We created a landing page to give the details here.
And in our email we wanted to include a few things to add urgency and authenticity.
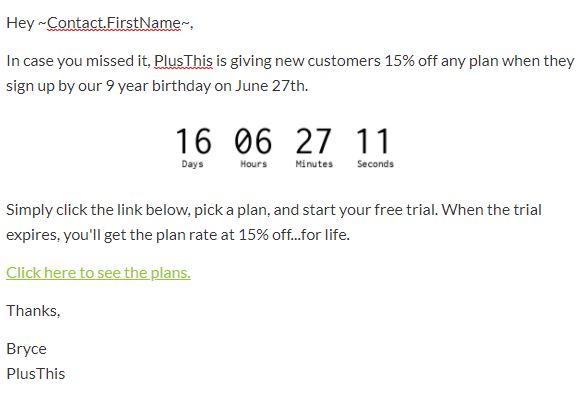
For urgency, we wanted to use a countdown timer that shows how much time was left to take the offer before our birthday on the 27th.
For authenticity, we needed to make sure that clicking the link for the offer, only took you to the offer page if you clicked it before our offer expired on the 27th. To do this, we used a tool in PlusThis called Smart Links. I’ll show more on how this works a little further down.
How we did it
The ingredients
Setting up an expiring offer was really easy. Here’s everything we needed to make it work.
- Marketing CRM: We used Keap, but this will work just as easily with ActiveCampaign, Drip, Ontraport, or HubSpot.
- Offer Page: We created a simple offer page using ClickFunnels, but you could create a page using whatever you like for your offer.
- Offer Emails: We’re planning on sending a few emails leading up to PlusThis’s birthday, but your mileage may vary so write however emails you feel is appropriate for an offer campaign with your list.
- PlusThis: For the Countdown Timer and Smart Links, we’re using PlusThis. If you don’t have this tool yet, you can start a free trial here to learn more.
Step 1: The Landing Page
When I create my campaigns, I usually start at the end and work backward. This is helpful because I find most people start with emails and then quickly realize they need links to pages and other tools that they need to have in place in order to finish the emails.
The Landing page doesn’t have to be fancy for a simple offer like this. But having this built first will help with the other steps.
Step 2: Countdown Timer (PlusThis)
For the emails I’ll be writing, I know I’ll want to add a countdown timer as we get closer to the final days.
PlusThis has a handy Countdown Timer tool that you can use for fixed dates (like this promotion) or evergreen dates, which I also LOVE to create.
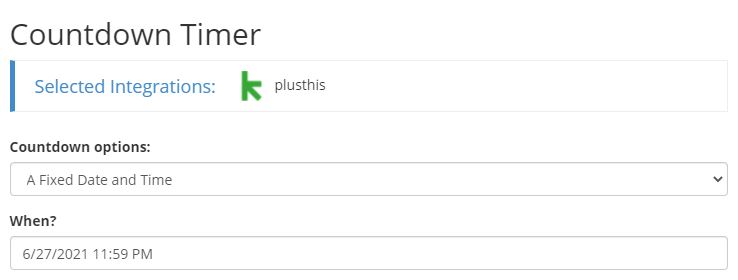
Setup for this is straight forward, simply pick the date you want the timer to countdown to and PlusThis will give you the image code to use in your email platform.
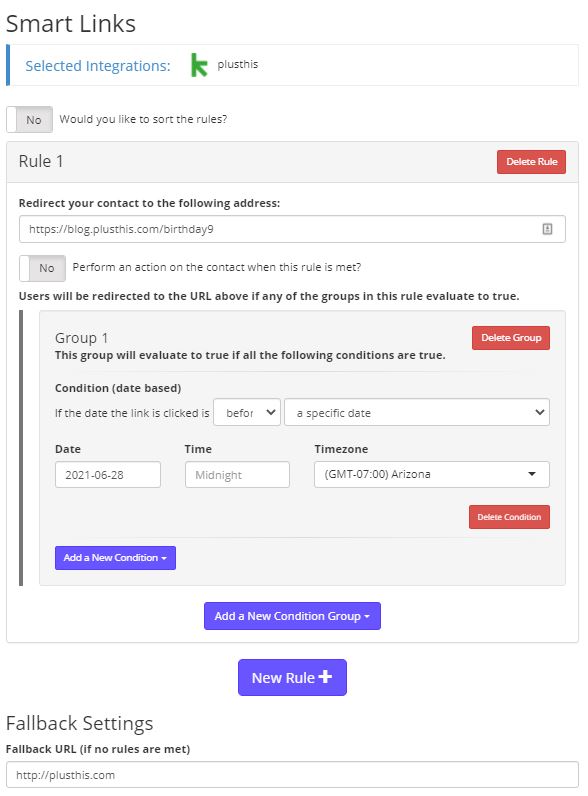
Step 3: Smart Links (PlusThis)
To make it so the link to our offer page only sends them there if they click on it while the offer is available, we use a PlusThis Smart Link.
The Setup in PlusThis is really easy as well. Just follow the instructions on the tool page. You’ll set the url for your offer page and a url for the page they go to if they click after the promotion date. PlusThis will give you a url to use in your emails and you’re done.
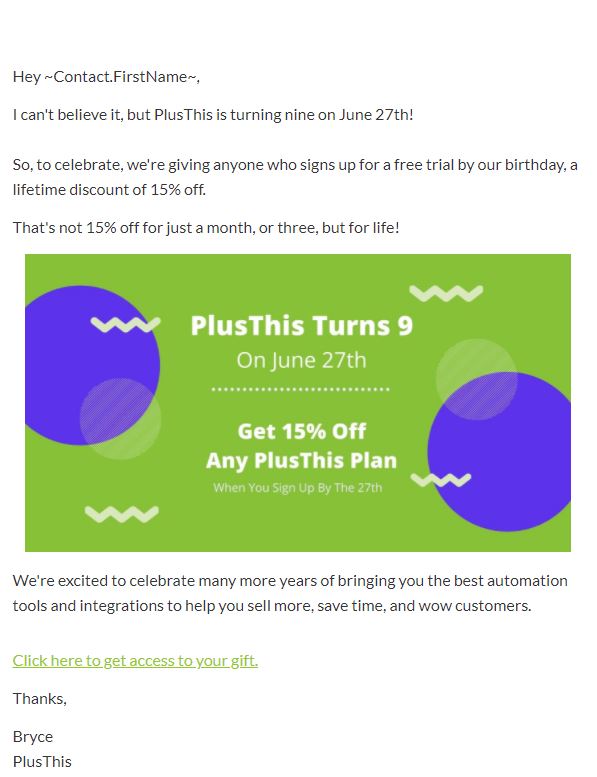
Step 4: Write Your Emails
Once I had the tools and landing pages ready, I started writing my emails for our promotion.
Here’s an example of another email we’ll be sending shortly with the countdown timer included.
Next Steps
If this is something you’d like to implement in your business, let us know!
We’re here to help. When you sign up for a free trial of PlusThis, ping us in the chat and we’ll walk you through setting up any step of this process if you need it.