
Automation is fast, sometimes too fast.
For example, we had people telling us our SMS responses were too quick, making the responses look less human. Other times, we’ve seen customers run into issues because they were sending information to another tool too quickly and with too many requests causing errors.
For situations like these, a Throttler Tool would be perfect.
Here’s how it works.
Step 1: Determine Who You’d Like to Throttle

Throttler gives you two options for throttling contacts. 1. You can choose a tag for generating the list to throttle. 2. You can pick a saved search.
In this example, I want to get a list of all my NPS promoters (those who would refer us to a customer) and get them added to my Google Review Campaign. I have a tag for this list so I’ll use that as my potion.
Step 2: Choose How Many Contacts You Want To Throttle In What Time Period
For my scenario, I’m going to have the Throttler batch them into groups of 100 and schedule a new batch to go out every fifteen minutes.

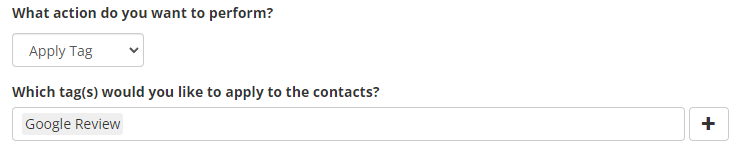
Step 3: Choose a Tag to be Applied
So every fifteen minutes my Throttler is going to apply a tag. This is how we can control how quickly contacts are going through an automation. Whether that’s sending an email, text or http post.
In this example, I’m applying a tag that starts their Google Review request.
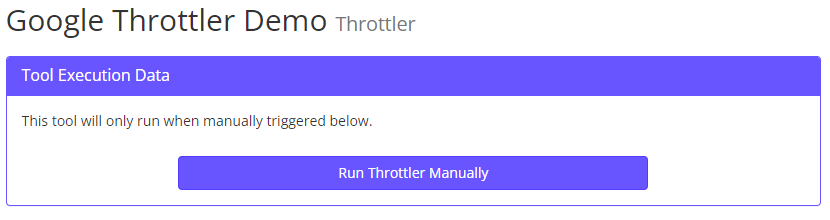
Step 4: Launch It
Once you have your settings locked in, you can give your tool a name. The next screen will have a button that you can hit as soon as you are ready to start your Throttler.
And that’s everything you need to know to use the new Throttler tool.
If you prefer video demos, you can watch one for ActiveCampaign or Keap below.
How to Use Throttler For Keap
How to Use Throttler For ActiveCampaign