It’s common to require signatures in many situations, but it can be a hassle to collect and keep track of signatures from a long list of contacts.
But don’t fret – PlusThis has already thought about how to fix that.
With DocuSign Connection, you can integrate your DocuSign account with your CRM to effortlessly manage your signing process.
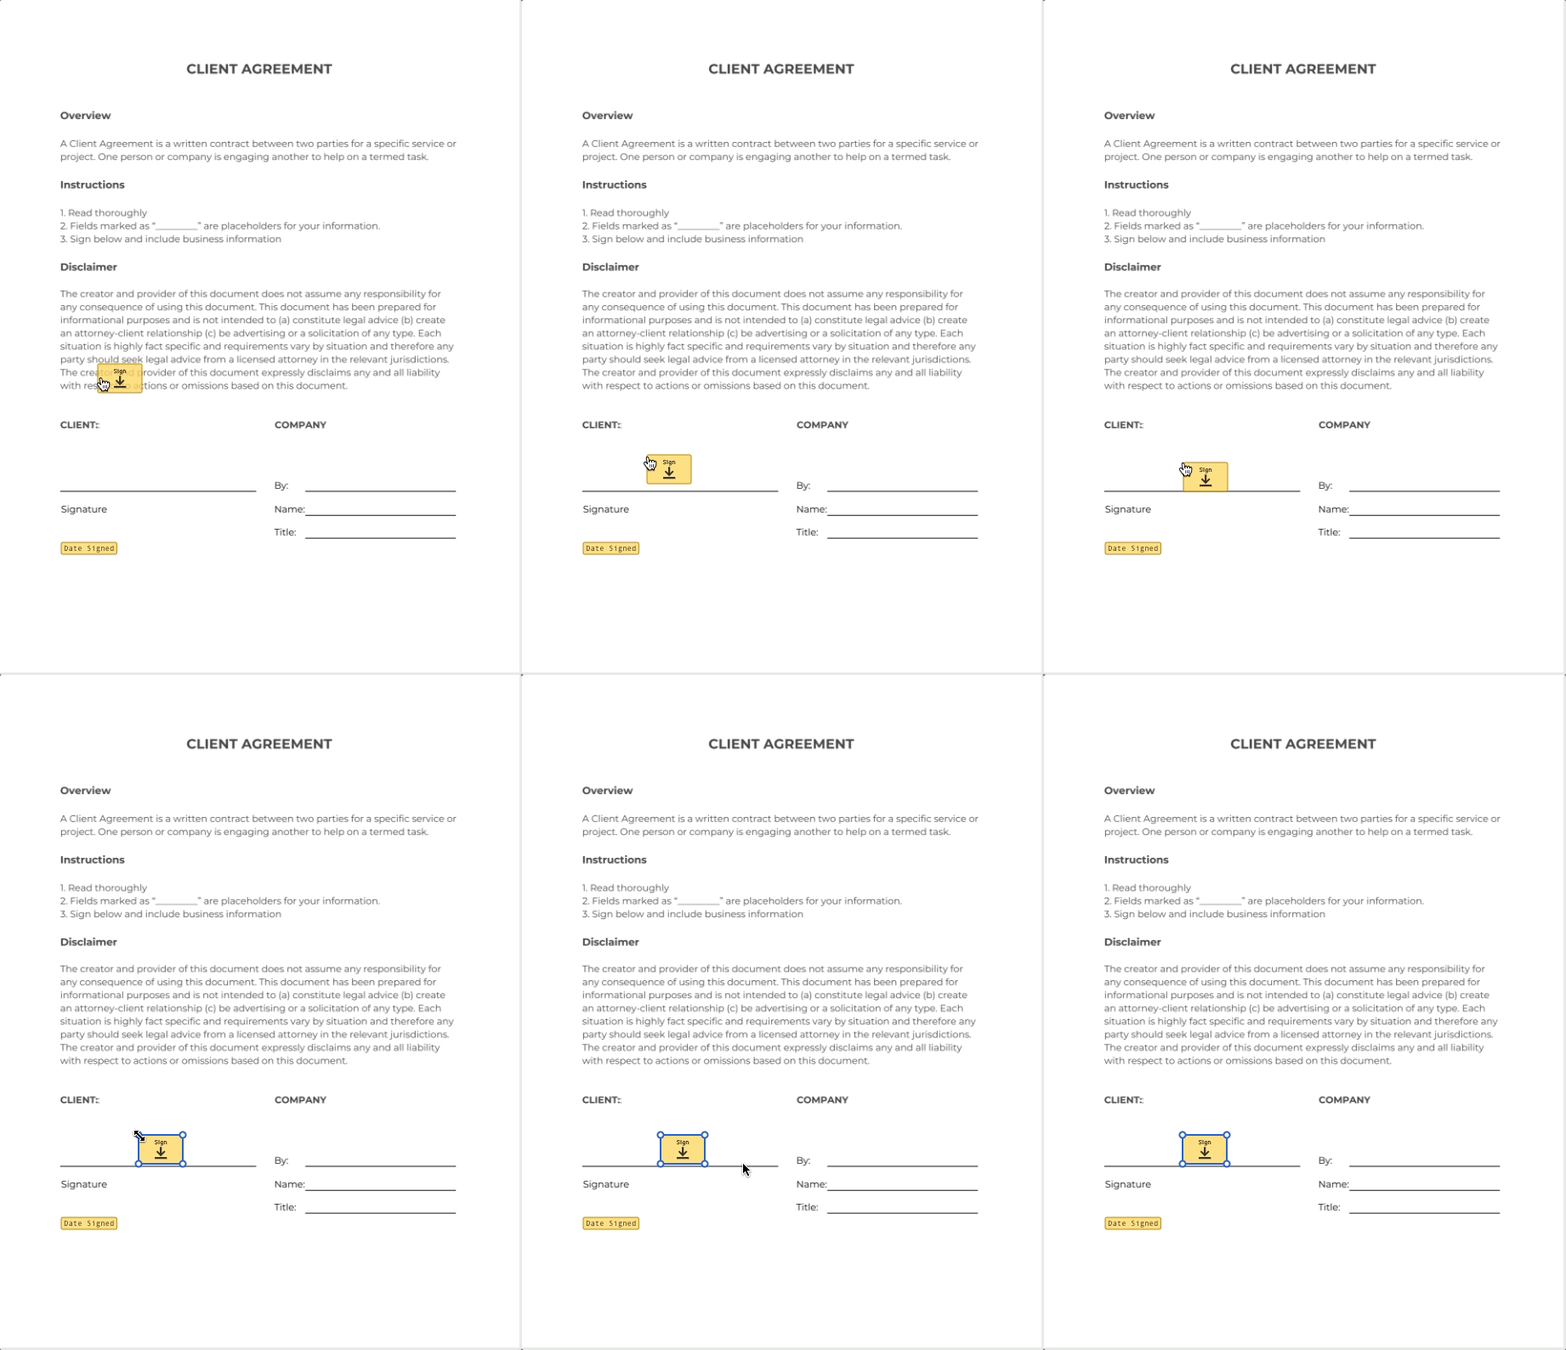
Let’s say that when leads become clients, you require a Client Agreement before providing your service. A simple, one page document that outlines an agreement between the two parties to achieve a specific goal.
We can run through how you would set up your DocuSign template, configure your PlusThis tool and implement it within your campaign.
Step 1: Create Your Document Template
In order to configure DocuSign Connection, the document will need to be in your DocuSign account saved as a template.
Once the template is saved, we’ll go into our PlusThis account to start the tool configuration.
Step 2: Set Up DocuSign Connection
If you haven’t already, you will be prompted to connect your DocuSign account with PlusThis. Simply login to your account and approve the request to integrate the two platforms.
When connected, select the appropriate template to configure.
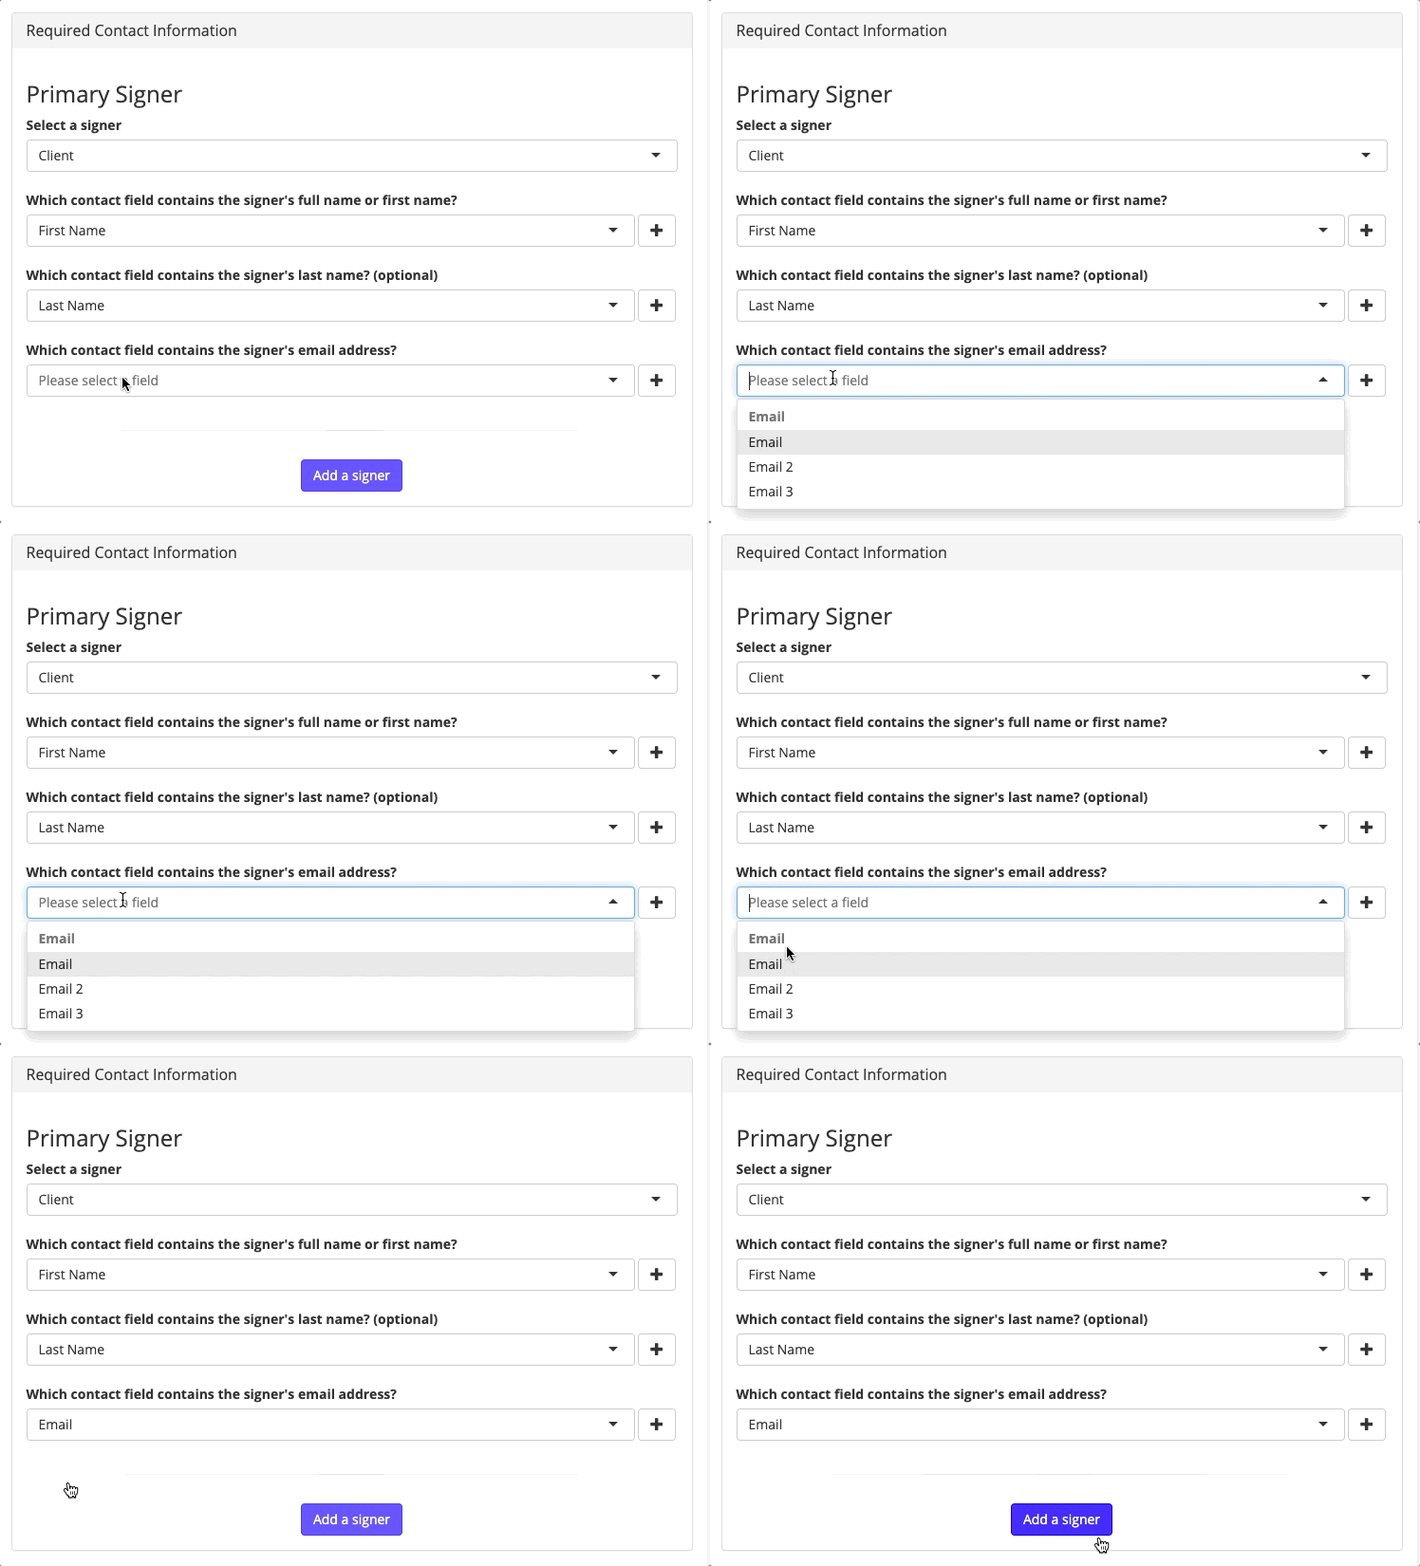
We’ll begin the process by indicating who the signer is, and what fields contain their information.
Continue on to customize email options, select the document tabs to autofill based on previous data, and where to save document responses.
For this scenario, we’ll personalize the email a bit by including the client’s name and we’ll save the date the document was signed within the appropriate field.
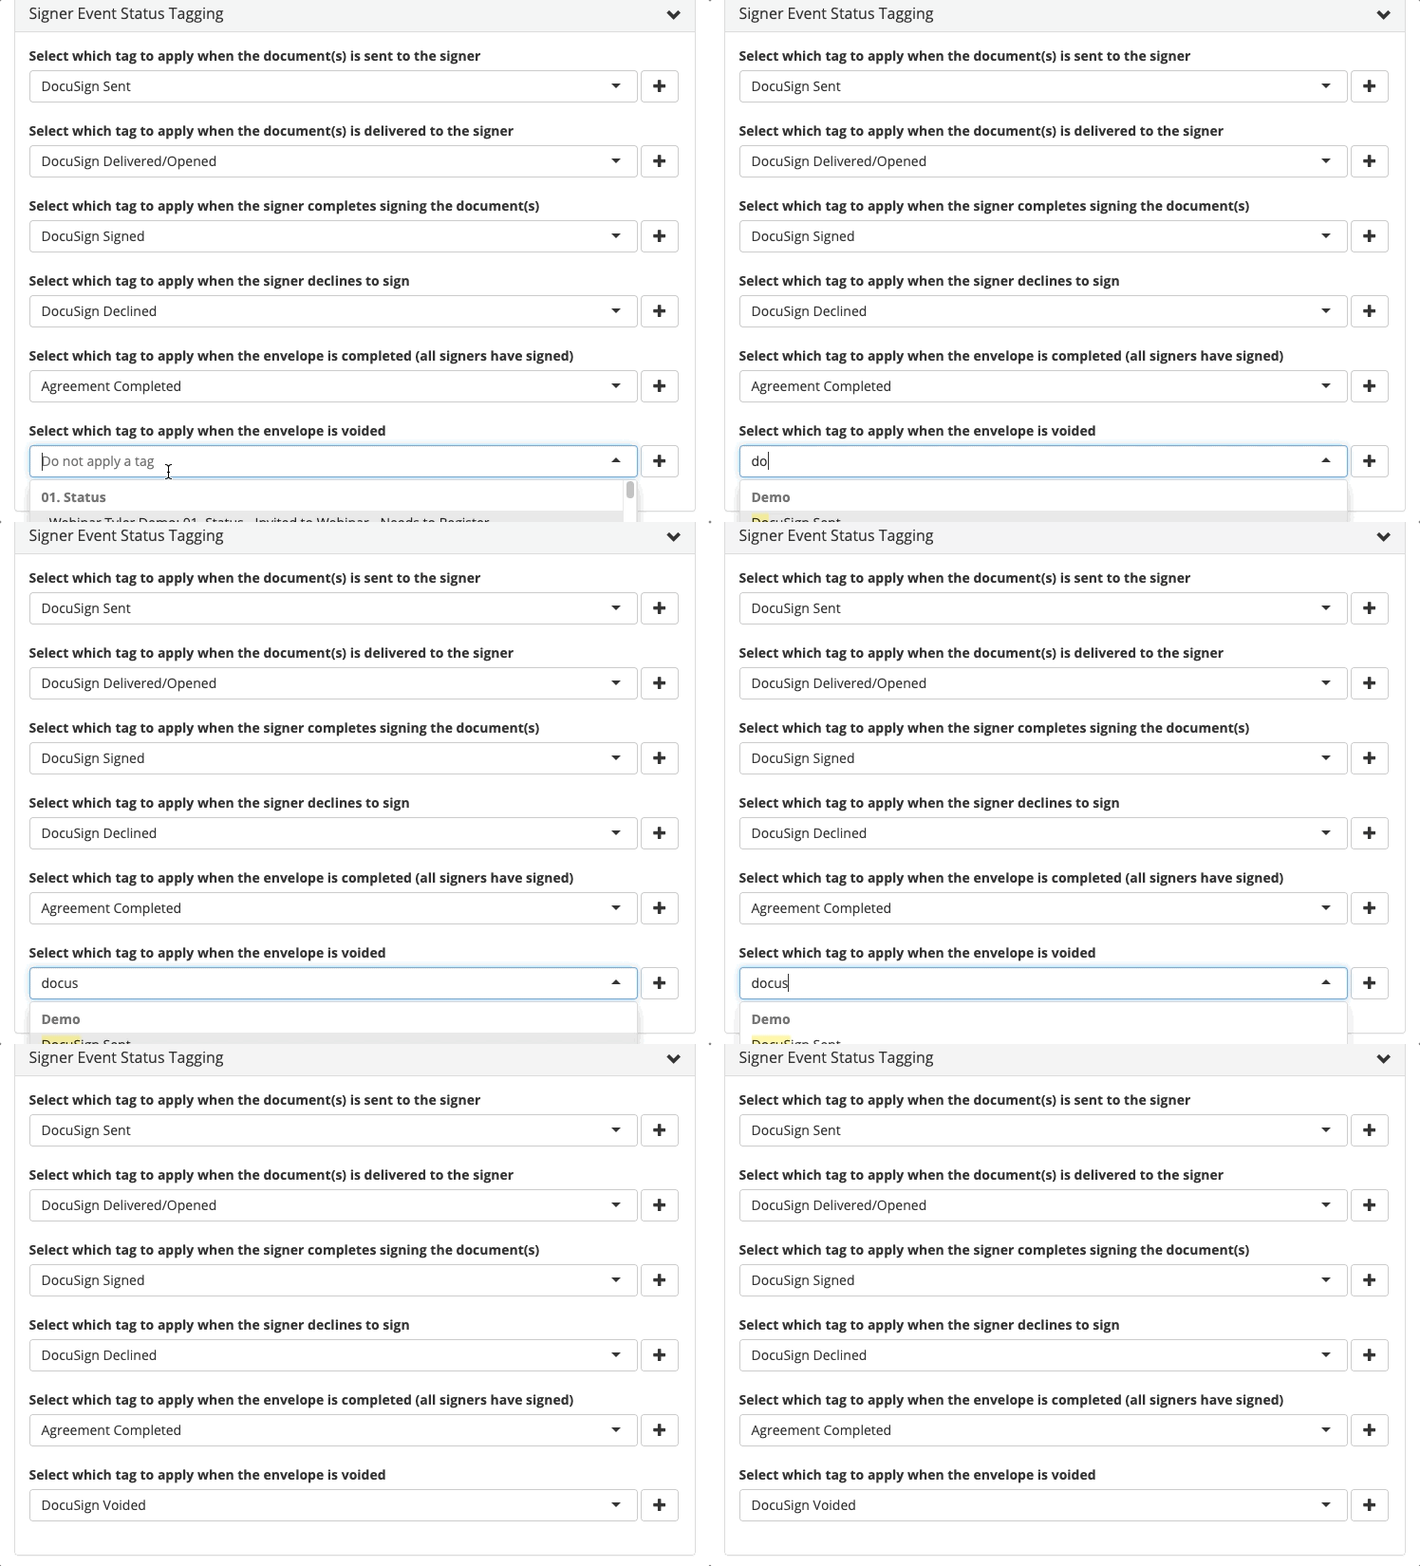
Lastly, we’ll determine the tags we want to be applied during the signing process.
When the tags are set, we’ll give the tool a name and save the configuration.
Once saved, we receive the Tool URL to input into our HTTP Post inside our campaign sequence.
Step 3: Place The Tool In Your Campaign
An example of a campaign structure that may represent the signing process of new clients may look a bit like this.
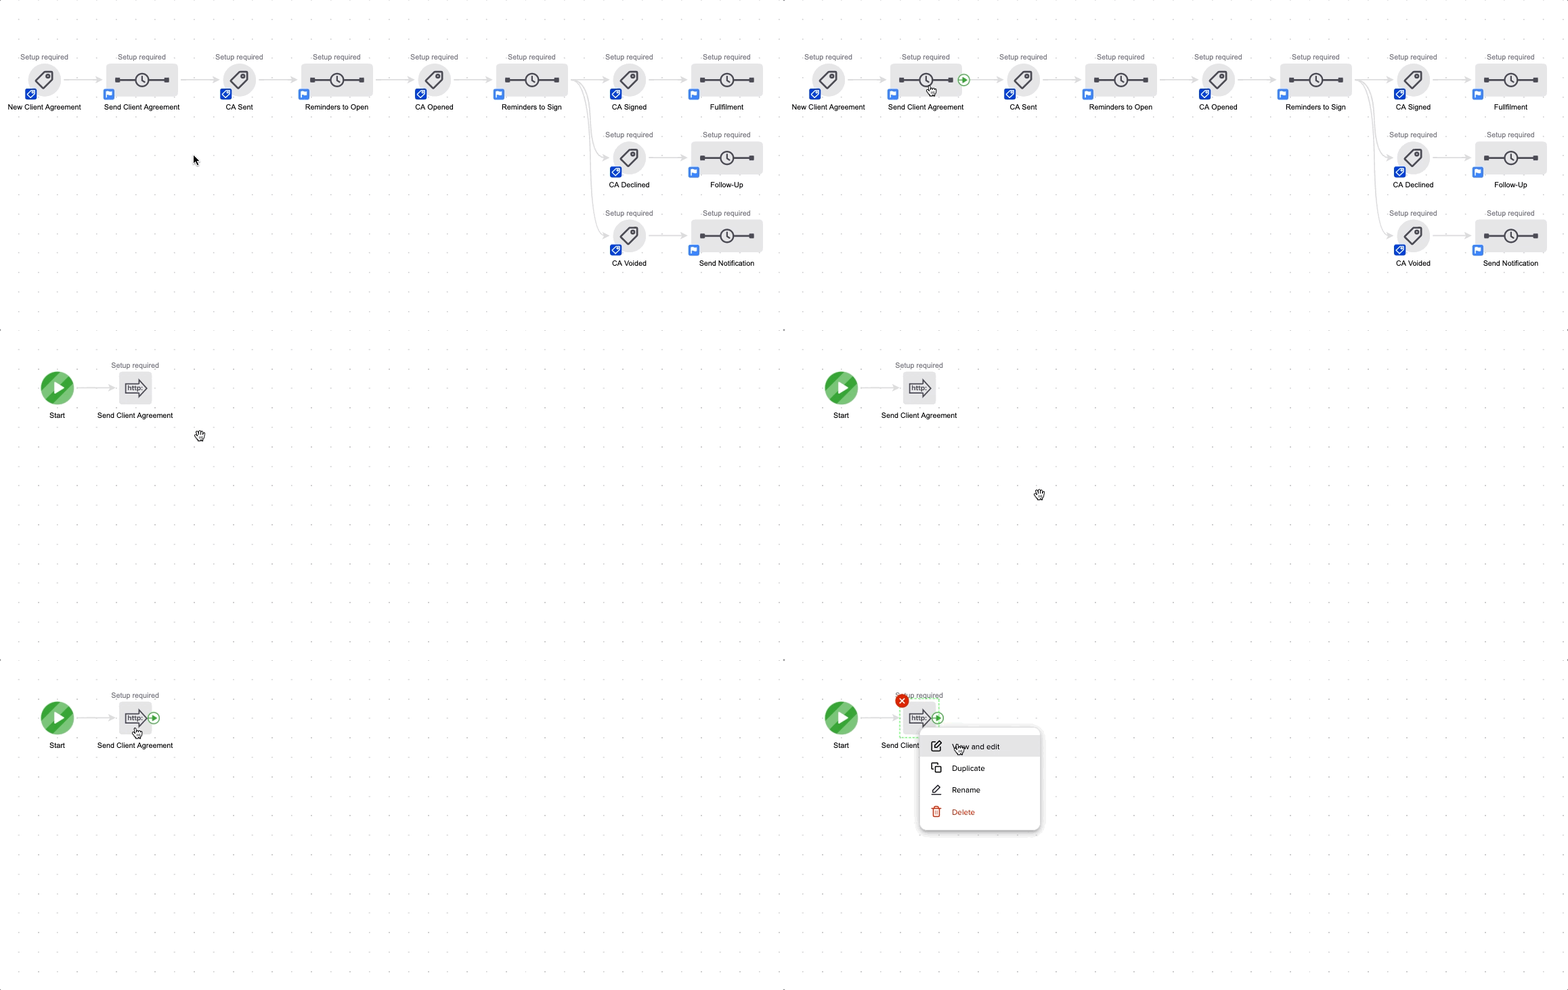
From there, you simply paste the URL PlusThis provided, and set the sequence as ready. When automation is triggered, the Client agreement will be sent to the appropriate recipient, the following reminders will be sent and the tags will be applied based on their engagement with the document.
Pretty simple, right? Now your signing process is on autopilot, and you don’t have to stress about keeping track of signatures.

