On top of creating an event and the supplemental content that comes with it, you have to make sure that people actually come!
There are many ways to set up calendar reminders and create a simple check-in process for attendees, but a simple way is with the use of just two PlusThis tools.
With Add To Calendar and Easy Check-In, these worries are no longer even slight concerns. These tools take care of adding the event to the attendee’s calendar (Google, iCal, OutLook) and crafting an easy check-in portal that simplifies the process of attending the event. While the tools can be used separately – when put together they can achieve a stress-free event with accurate reminders and simplified processes. With these features, attendees can recognize the simplicity of your events, and are more inclined to attend future events.
Let’s go through how you’d set these tools up.
Add Your Event To Their Calendar
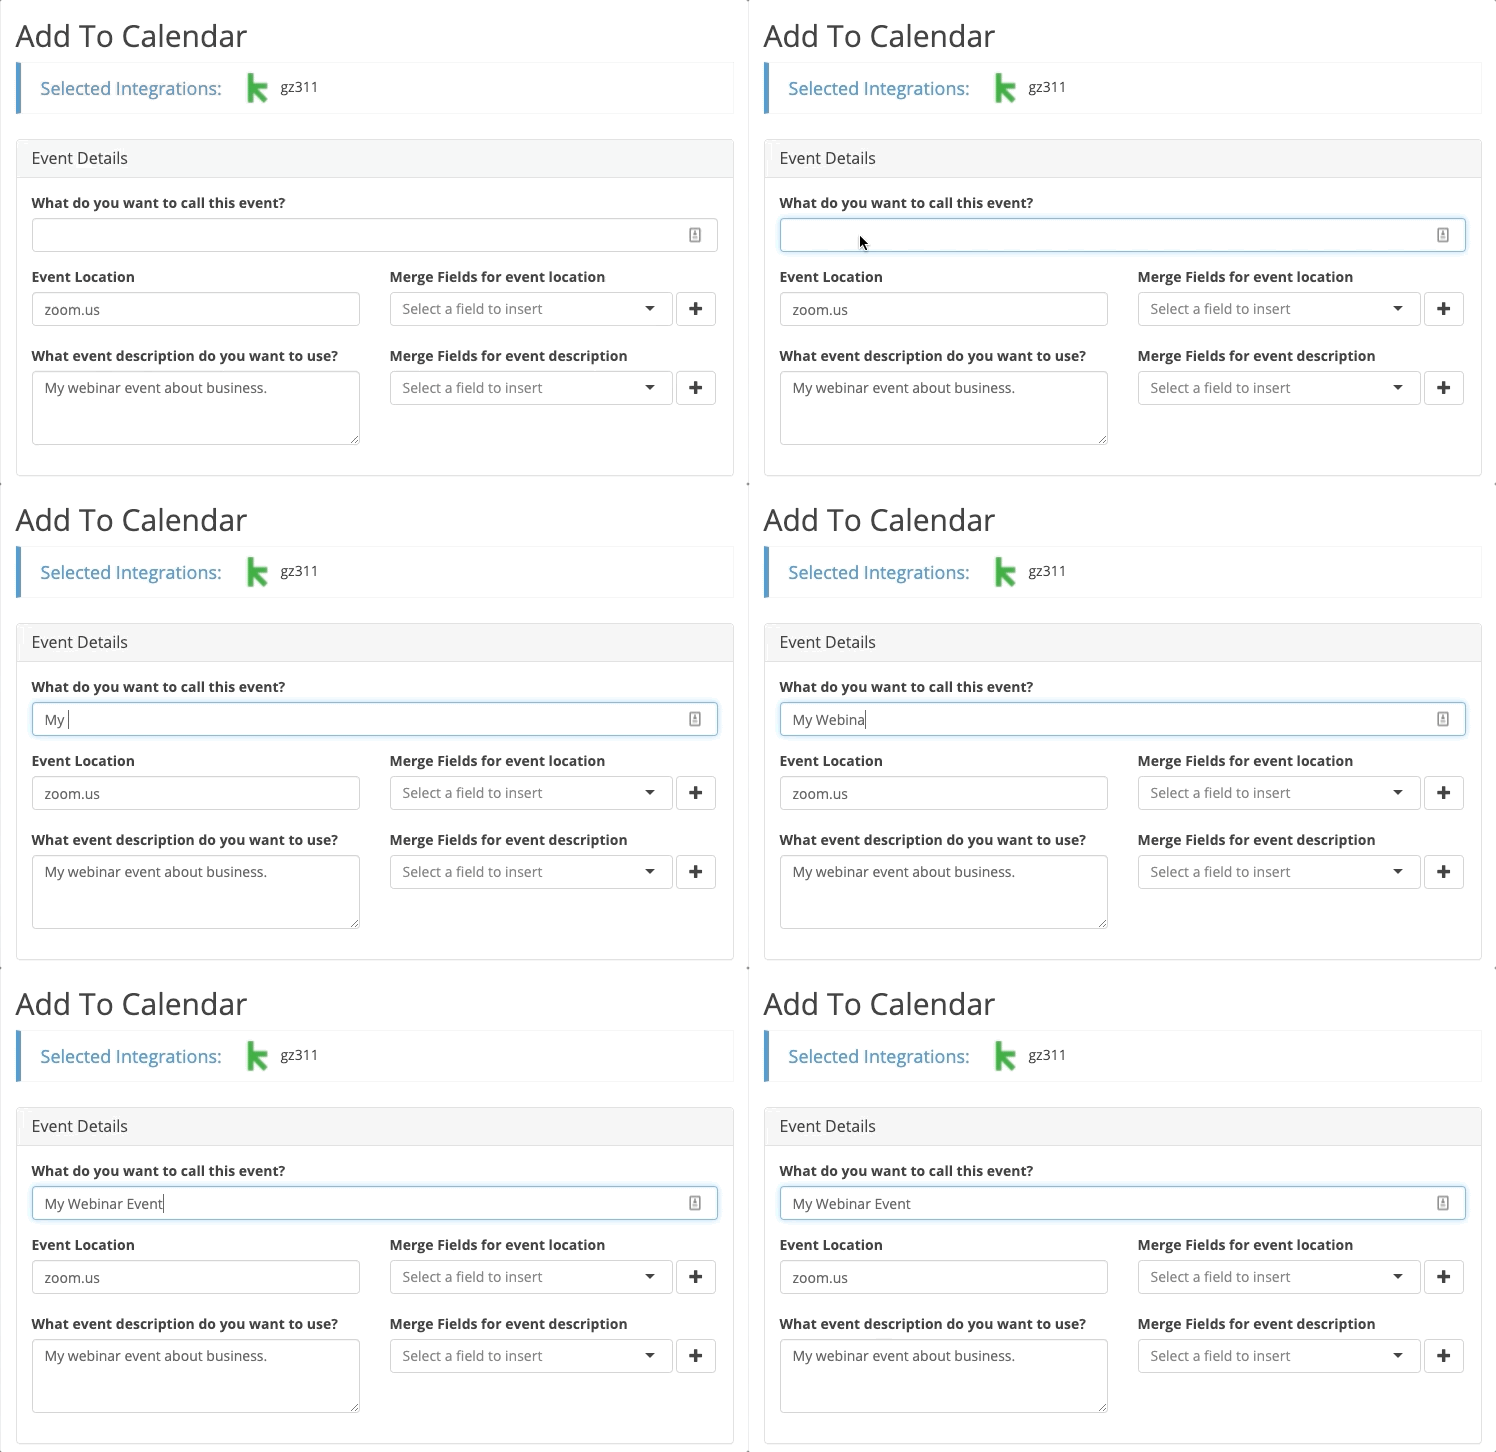
Configuring the tool is pretty straightforward. Begin by establishing the event and the information you’d like to include in the calendar reminder. You can include the appropriate fields you’d like to merge for the location and description.
From there, you will continue on to specify the date for the event, the time it starts and how long it lasts.
Once this information has been input, determine if the event is going to repeat and continue on to save the tool.
PlusThis will provide a tool URL for both an ISC file (iCal, Outlook) and Google Calendar to place into emails for contacts to choose which they support.

Make It Easy To Check-In
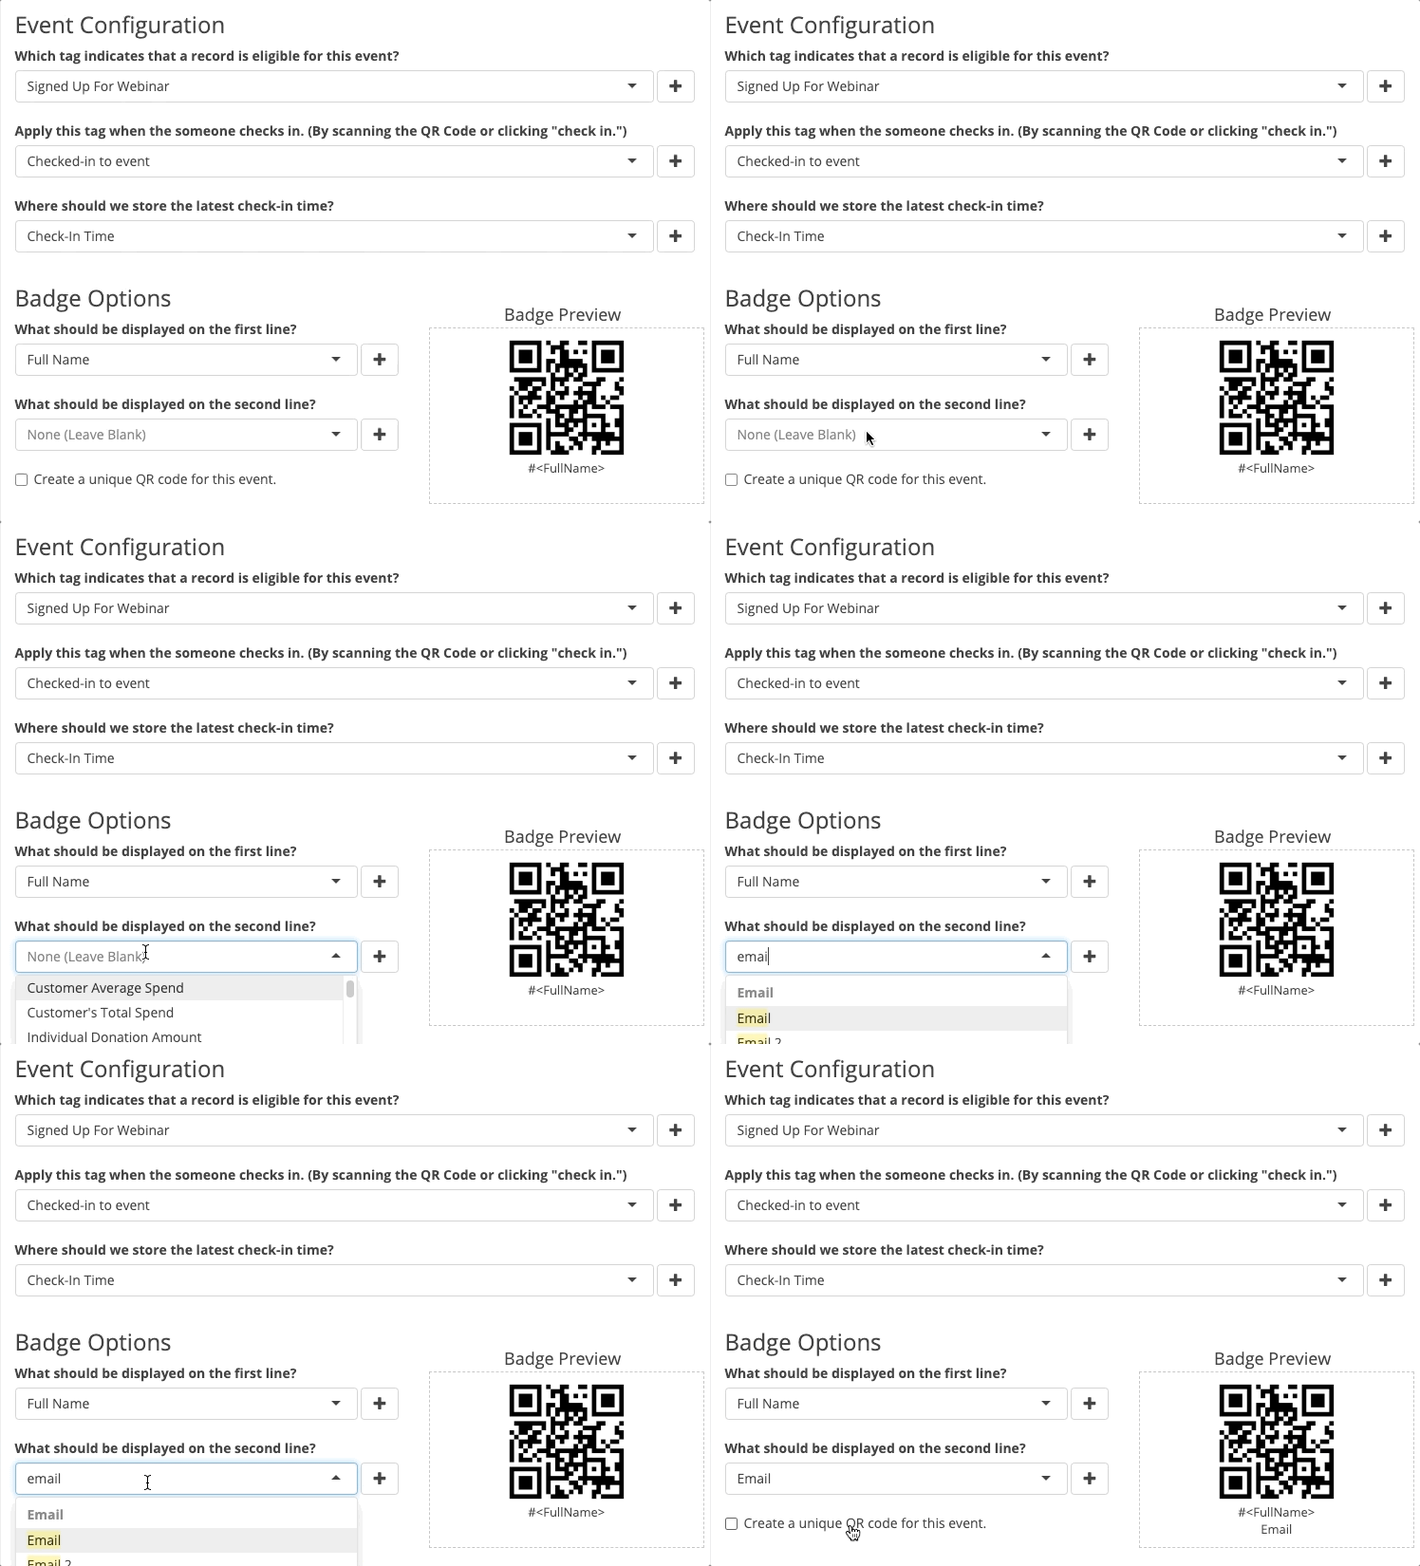
Start by deciphering what tag qualifies the contact to enter the event, then what tag should be applied once they have entered the event and where to store that timestamp.
Moving on to how you’d like the QR Code Badge to appear, select the appropriate fields you’d like displayed for each attendee.
Then choose whether you’d like the QR Code Check-In to be password protected, and if there is a page you’d like to show after check-in.
Lastly, make the appropriate edits to how the admin page will appear for you and what fields you’d like to be shown. Determine what status tags you’d like to be aware of for each participant, and add them in this section to be able to see them within the “View Details” section of the admin page.
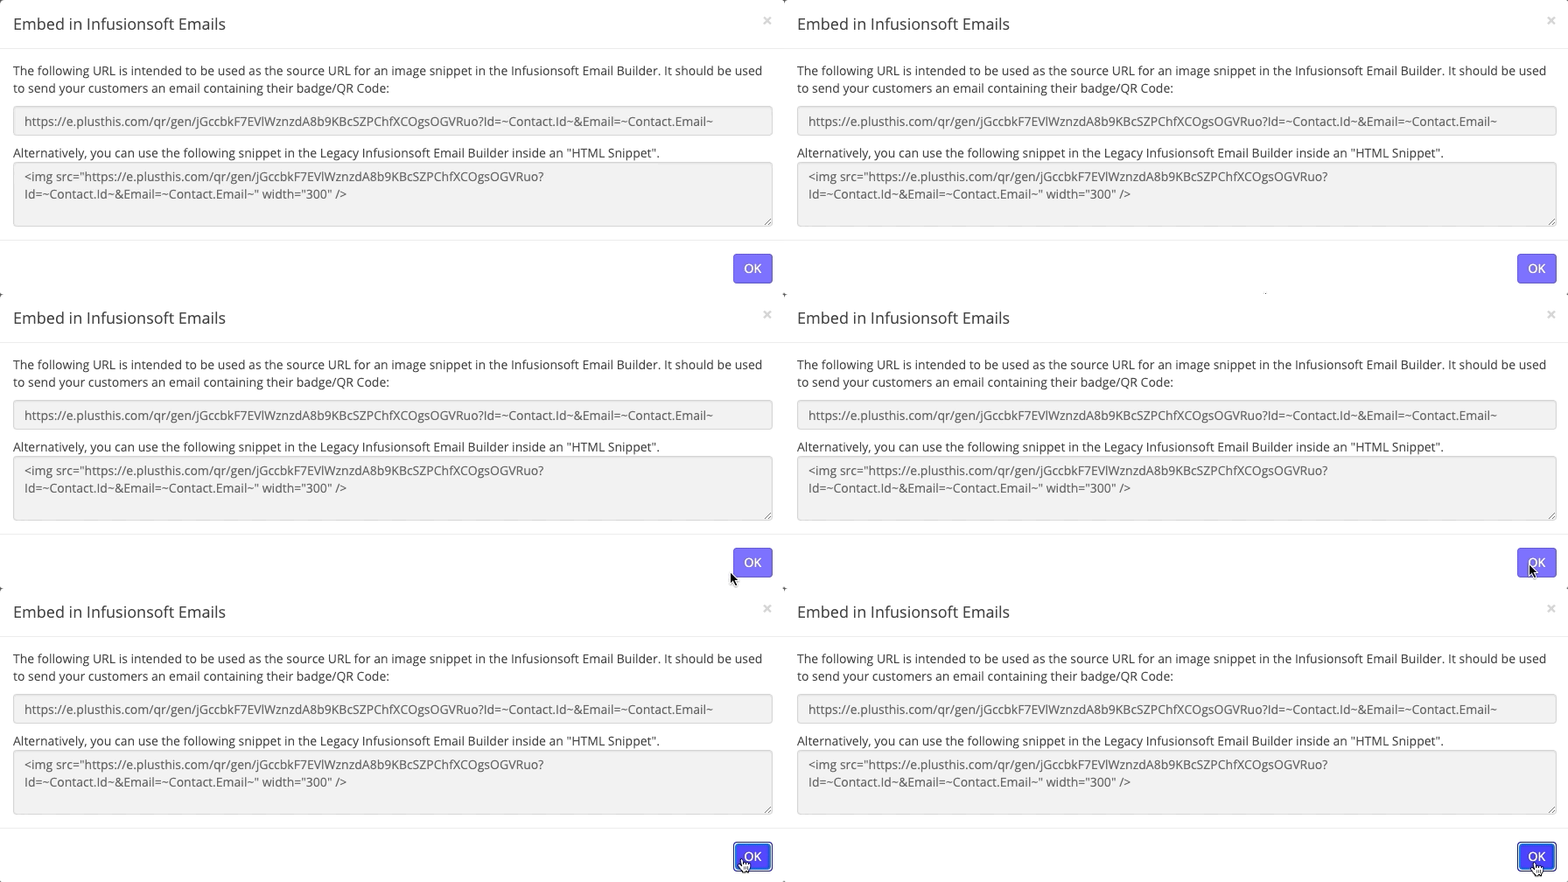
Give the tool a name and select a folder to save it within and then the easy check-in process has been implemented and the QR codes can be embed to send to contacts via email.
To view who’s checking in, what time, and the determined status tags – select the tool and “usage & event administration” to see the event menu and associated registrants.
Watch Your Event Be A Simple Success
As a result of the simplicity, personalization, and accuracy of the Add To Calendar and Easy Check-In tools – registrants can interpret the credibility of the company and the event they are about to attend is going to be highly organized and beneficial to them specifically.

